


This is the series where I’m walking through building a new service, reread.to from scratch. In the last couple of posts, I finished laying out the API server basics, and now I'll be moving to setting up the frontend.
I've decided to use Next.js for the frontend, because it seems to work well out of the box. It has good conventions, and allows easy configuration for the important things. Here's a brief outline of what I intend to cover today.
- Setting up the Node environment
- Creating the Next.js application
- Make it talk to the API server
- Install Tailwind CSS
Before I get into Next.js, I'll set up my Node.js environment. Since reread is a new project, I'll install the latest Node LTS version. As the time of writing that's 16.14.0.
An easy way to install and update Node versions is through Node version managers rather than installing them manually. The most popular manager is nvm, but I prefer n over nvm. I used nvm for a long time, but I didn't like the way it added a significant lag to shell startup times, so haven't used it for a couple of years now. I don't know if it's gotten better since then.
Now that I've got my Node set up, creating a Next.js application is quite simple. You execute the following command
yarn create next-app --typescript
I use yarn because I prefer it over npm. If you don't have it installed, you can find out how to install it here.
I'm also using Typescript. It used to be a bit painful due to the slow compilation times, but recently build tools like ESBuild, ViteJS, and Next.js's v12 compiler have made that lag negligible for day to day dev work. Though, even with the lag I would've opted for Typescript because the language support within IDEs makes the development experience much nicer, and it helps me write bug-free code.
Now that we have Next.js set up, we will create a simple hello world page. It just calls the /_health endpoint we created on the server earlier.
Here's the source for my index.tsx file:
import type { NextPage } from 'next'
import Head from 'next/head'
import styles from '../styles/Home.module.css'

const Home: NextPage = () => {
  return (
    <div className={styles.container}>
      <Head>
        <title>Reread.to</title>
        <meta name="description" content="Reread app" />
        <link rel="icon" href="/favicon.ico" />
      </Head>

      <main className={styles.main}>
        <div>Healthy?</div>
        <pre></pre>
      </main>
    </div>
  )
}

export default Home
I'm just using the default CSS setup that comes with a new Next.js project right now.
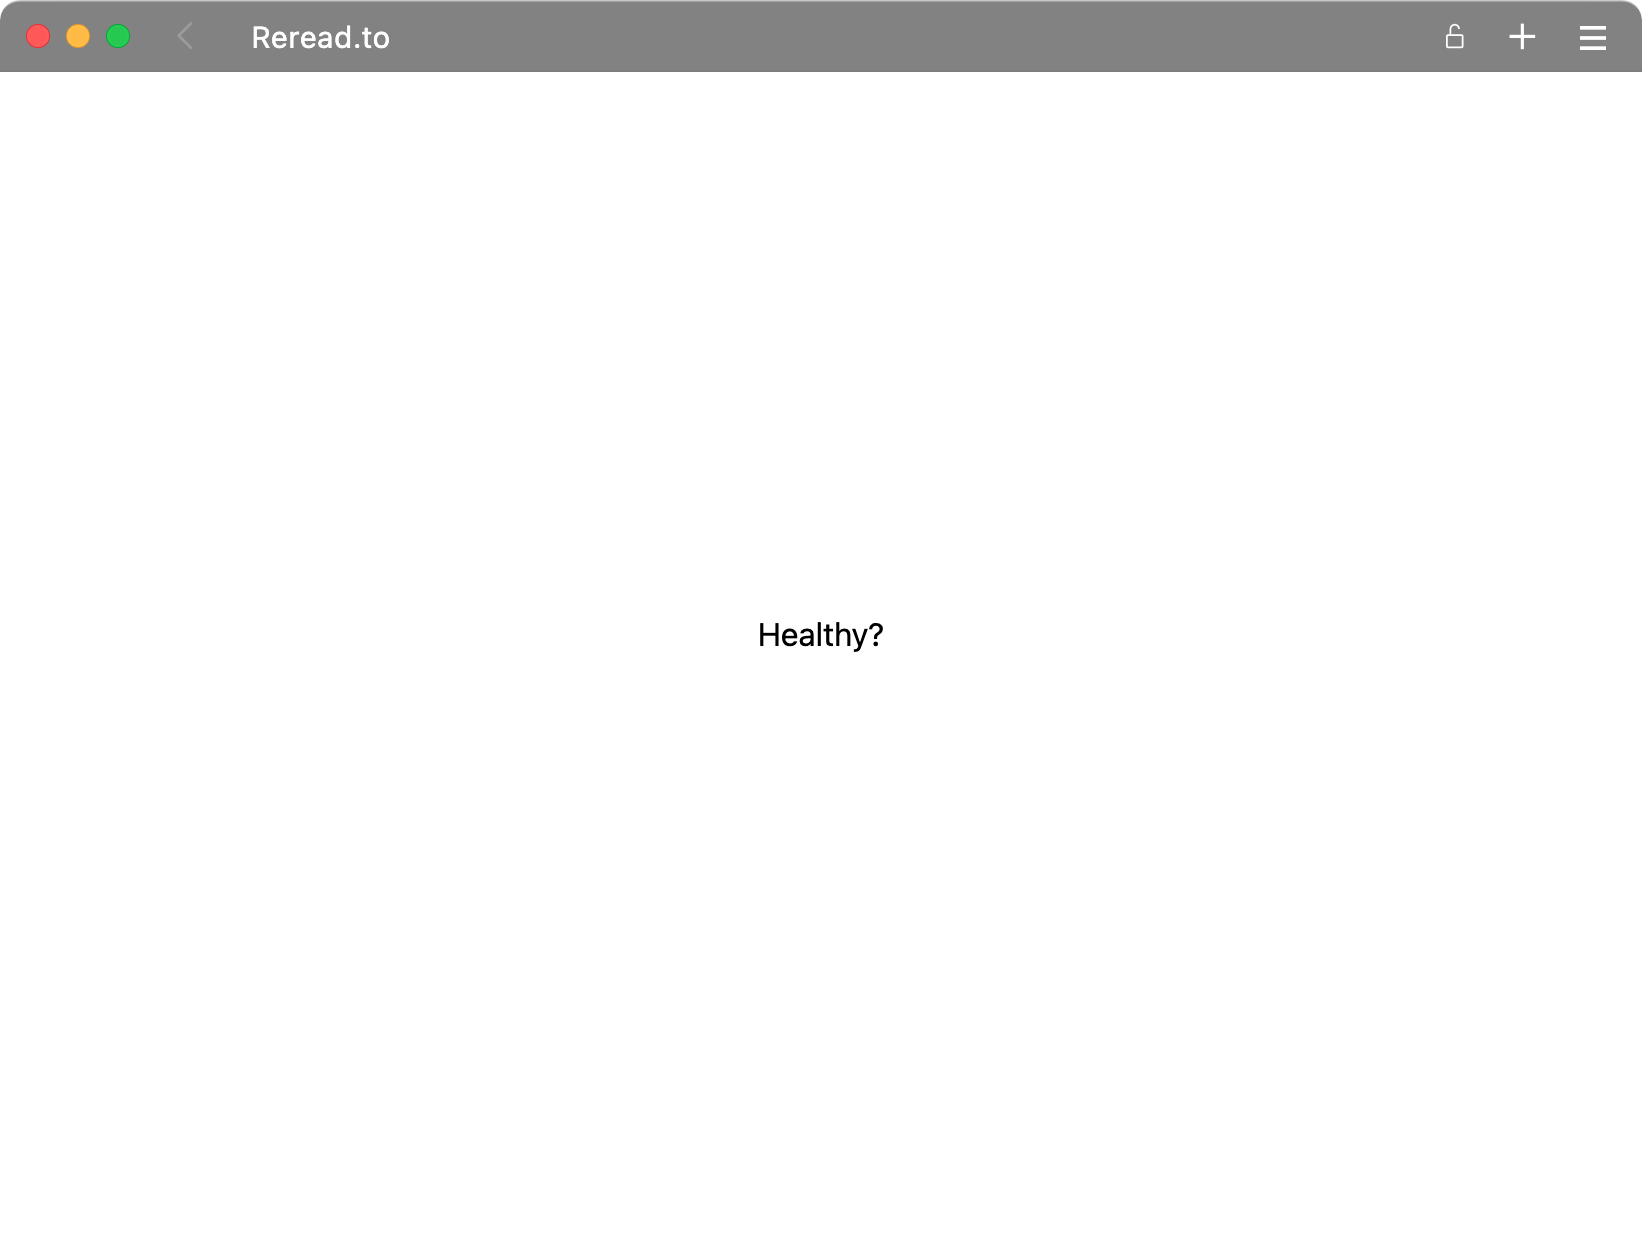
It doesn't look like much right, but I'll get it to talk to the API server's health now. First, I'll remove the api folder that Next.js creates during setup, and then update the next.config.js file to be like so:
/** @type {import('next').NextConfig} */
const nextConfig = {
    reactStrictMode: true,
    async rewrites() {
        return [
            {
                source: '/api/:path*',
                destination: 'http://localhost:8080/:path*',
            },
        ]
    },
}

module.exports = nextConfig
This will tell Next.js to send any requests made to /api to http://localhost:8080/. Once I'm ready to deploy this, I'll have to make it a bit smarter, to switch between production and development urls but for now this is good enough.
I added a <pre> tag right under the 'Healthy?' <div> tag. That will be used to show the server response. For data fetching, I'll be trying out the SWR library from Vercel which looks kinda neat.
First, we'll tell SWR how to query the API, using the browser's built-in fetch library:
async function fetcher(url: string) {
    const resp = await fetch(url)
    return resp.json()
}
This is an overly simplistic fetcher that doesn't do any error checking, but it's enough for my current use case.
To use it, I update the component like so:
async function fetcher(url: string) {
    const resp = await fetch(url)
    return resp.json()
}

const Home: NextPage = () => {
  const { data, error } = useSWR(
    "/api/_health",
    fetcher
  );

  if (error) return <p>An error occurred!</p>
  if (!data) return <p>Loading...</p>

  return (
    <div className={styles.container}>
      <Head>
        <title>Reread.to</title>
        <meta name="description" content="Reread app" />
        <link rel="icon" href="/favicon.ico" />
      </Head>

      <main className={styles.main}>
        <div>Healthy?</div>
        <pre>{JSON.stringify(data, null, 2)}</pre>
      </main>
    </div>
  )
}

export default Home
useSWR is a react hook that returns data or error. If there's no data and no error, that means that the request is underway. Once the data is available, we can render the component. The above code running looks like this:
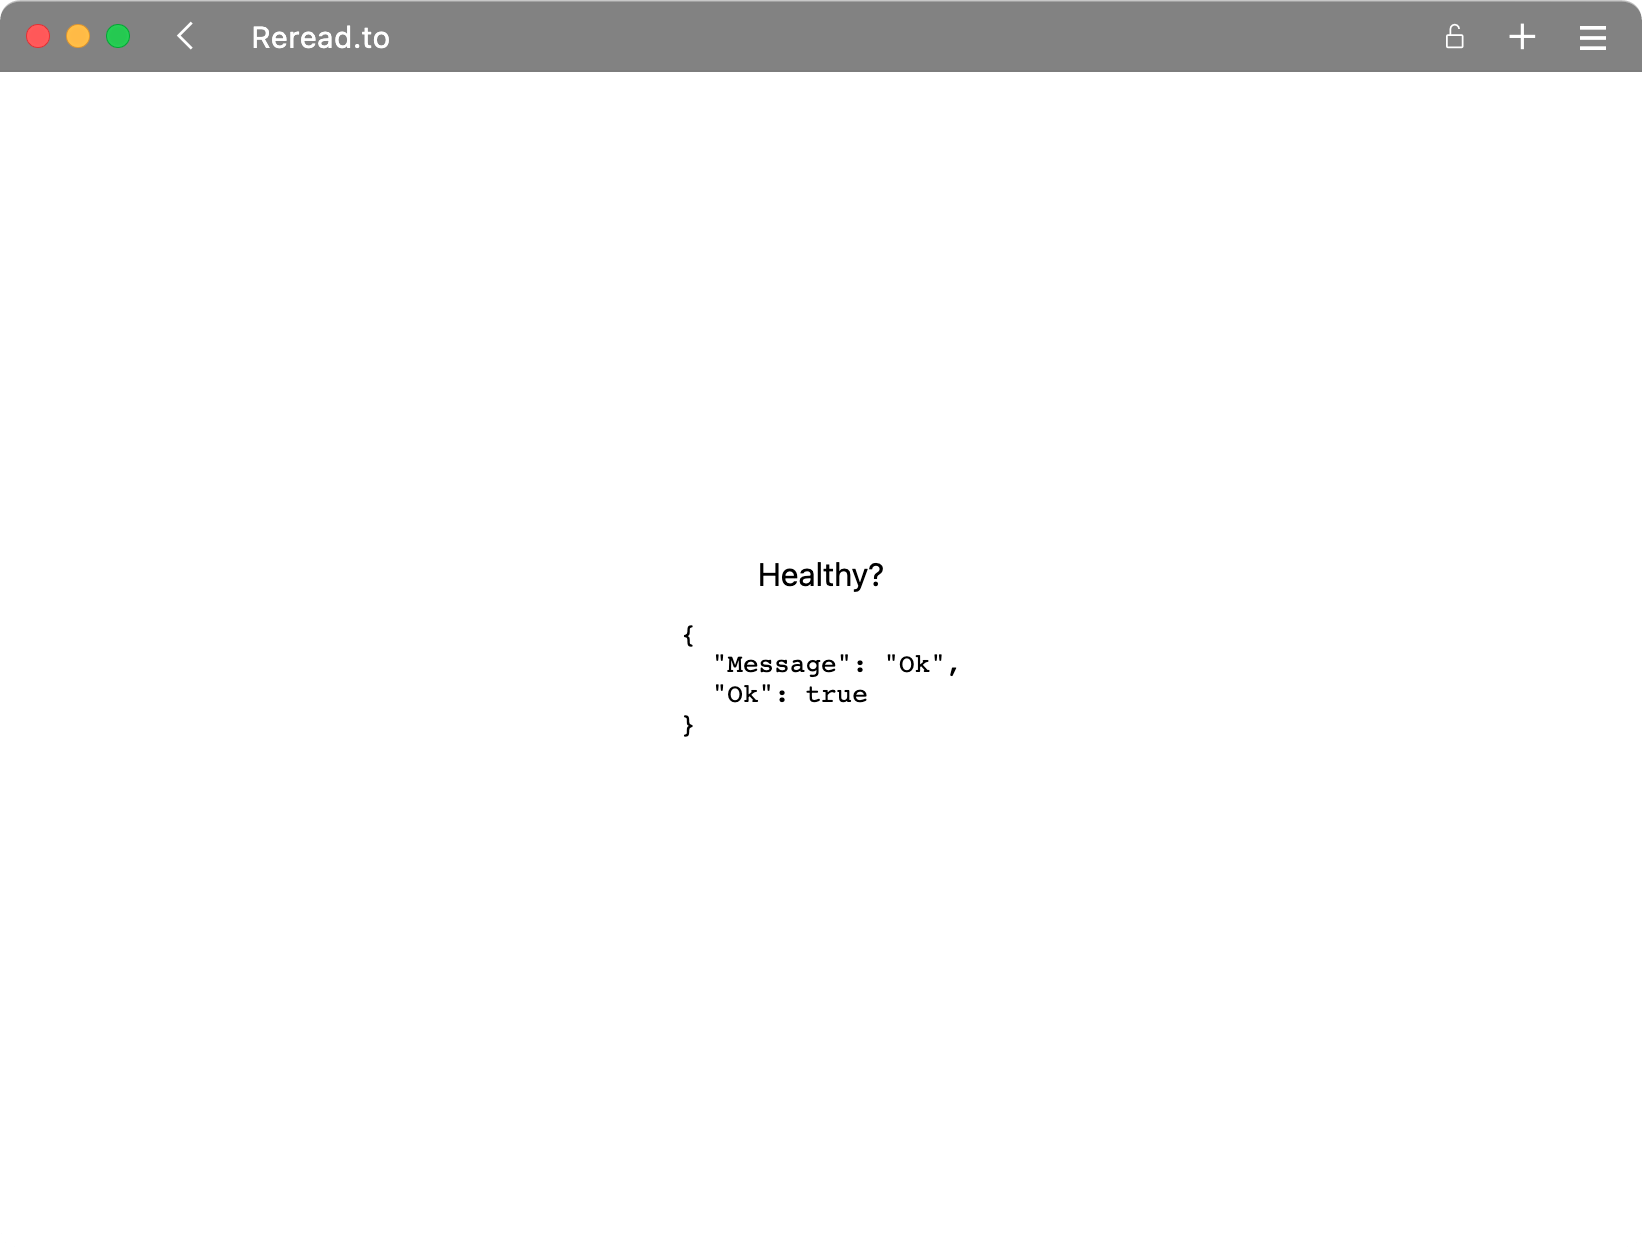
This is great. Our frontend is now talking to the backend, and we're getting close to developing some actual functionality.
A small detour before that though. I'm not the best at CSS, and instead of spending a lot of time trying to figure out why the page doesn't look like the way I expect it to, I prefer to use TailwindCSS.
Luckily there are a lot of resources to help with that. I followed the instructions from the tailwindcss page. Here's what I did:
yarn add tailwindcss postcss autoprefixer
yarn tailwindcss init -p
This creates a tailwind.config.js file in the app, within which I update the content array:
    content: [
        './pages/**/*.{js,ts,jsx,tsx}',
        './components/**/*.{js,ts,jsx,tsx}',
    ],
Then, on top of the styles/globals.css file, I added the following lines:
@tailwind base;
@tailwind components;
@tailwind utilities;
With this, everything is set up to use TailwindCSS. To do a quick test, I'll replace the css module class name with TailwindCSS styles
      {/*
        height: 100%;
        padding: 4rem 0;
        flex: 1;
        display: flex;
        flex-direction: column;
        justify-content: center;
        align-items: center;
        */}
      <main className="h-full pl-4 p-0 flex-1 flex flex-col justify-center items-center">
        <div>Healthy?</div>
        <pre>{JSON.stringify(data, null, 2)}</pre>
      </main>
and the page looks exactly the same so it all works!
For next time, I'll switch gears and do some marketing related things. I'll set up the landing page, hook up an email sign up form, and work on deploying this Next.js app to Netlify.